
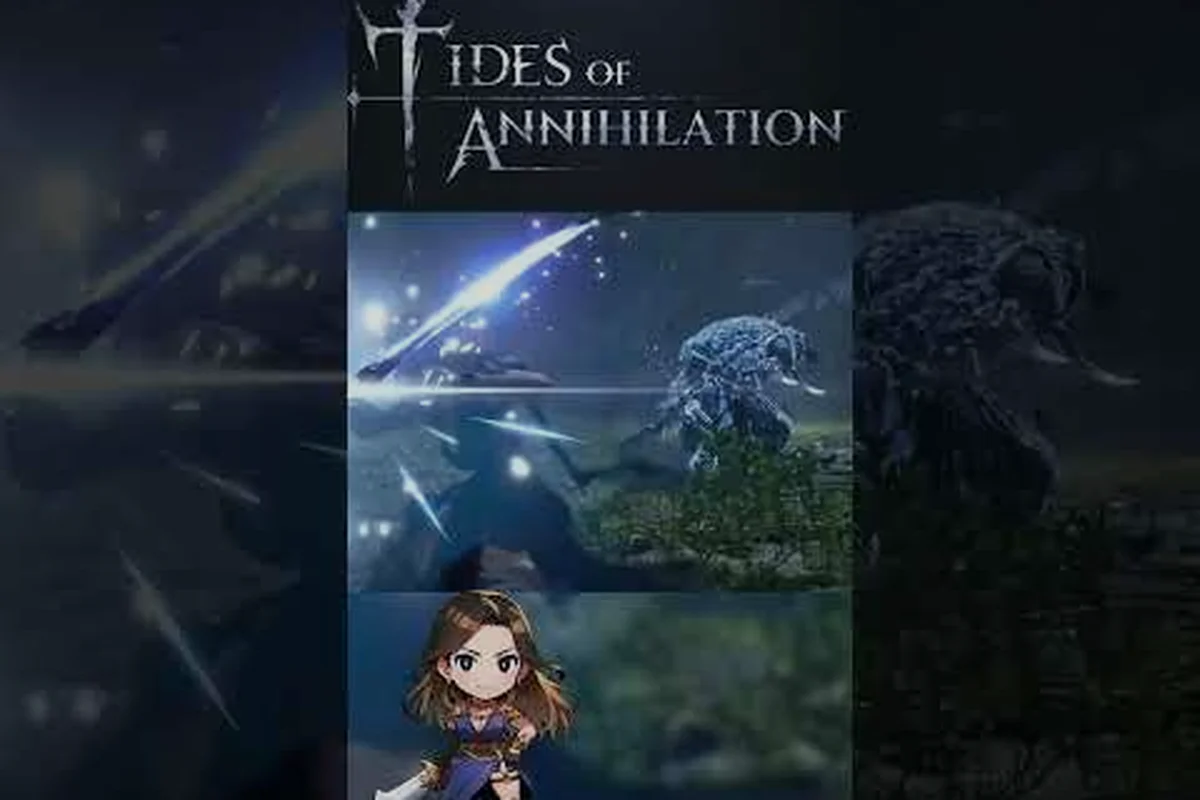
Tides of Annihilation character customization goes far beyond picking a new outfit, because the system weaves visual flair directly into combat performance through skill trees, weapon loadouts, and knight configurations. Understanding how these layers interact is the difference between struggling against the Colossal Knights and dismantling them with surgical precision, so this guide breaks down every customization pillar with concrete data and practical recommendations.
The game's customization philosophy centers on Gwendolyn as a blank canvas, letting you shape her into a nimble sword dancer, a methodical spear tactician, or a hybrid that adapts to any encounter. According to the official PlayStation Blog announcement, Gwendolyn wields a mysterious gray fog that manifests two spectral knights at her side, each with a distinct combat role. That means your customization decisions determine not just how Gwendolyn fights, but which Knights of the Round Table answer her call and how they complement her moveset.
Understanding the Tides of Annihilation Character Customization Layers
The customization suite in Tides of Annihilation operates on four interconnected layers that stack on top of each other, and each layer feeds into the next in meaningful ways. The skill tree governs Gwendolyn's personal abilities, the weapon list determines her active moveset and damage profile, knight configuration decides which two spectral knights accompany her into battle, and the cosmetic layer handles clothing, hair color, and makeup without affecting stats.
What makes this system particularly deep is how the layers interact rather than existing in isolation. A skill tree node that boosts spear damage feels wasted if you bring a sword into a boss fight, while a knight configuration built around crowd control becomes far more valuable when paired with a single-target weapon loadout. The Wikipedia overview of the game confirms that character customization includes knight configuration, weapon changes, equipment and accessory configuration, as well as clothing, hair color, and makeup, which means the breadth of options rivals action RPGs with far larger budgets.
The Dual Frontline system sits at the heart of this customization philosophy, because it allows two sets of knights, four total, to be configured at once and switched freely during battle and combos. This creates a layer of strategic depth where you prepare for multiple phases of an encounter before the fight even begins, knowing that a boss might demand a defensive knight for one phase and an aggressive one for another.
Tides of Annihilation Gwendolyn Customization: Skill Tree Explained
The skill tree in Tides of Annihilation is where Gwendolyn's personal combat identity takes shape, and it branches into three distinct disciplines that reward focused investment. The Combat Mastery branch enhances her core weapon techniques, the Fog Weaver branch amplifies her spectral knight interactions, and the Survivor branch improves her defensive options and recovery tools.
Combat Mastery Branch Breakdown
This branch directly modifies how Gwendolyn handles her equipped weapon, with nodes that increase combo length, reduce stamina costs, and unlock charged attack variants. Early investment here pays dividends because the combo extension nodes add extra hits to your basic attack strings, which translates directly into more damage per stamina spent. The charged attack nodes are particularly valuable for spear users, since they unlock a piercing thrust that ignores enemy block frames.
Fog Weaver Branch and Knight Synergy
The Fog Weaver branch deserves special attention because it directly enhances the knight configuration system, with nodes that reduce summon cooldowns, extend knight active time, and unlock shared combo finishers between Gwendolyn and her spectral allies. Investing here transforms the knights from occasional assists into a constant presence that chains attacks alongside you, which is essential for maintaining pressure against aggressive bosses.
Survivor Branch for Endgame Viability
The Survivor branch rounds out the tree with parry window extensions, dodge invulnerability frames, and a revive mechanic that lets a knight sacrifice itself to restore Gwendolyn's health once per encounter. While this branch might seem less exciting than raw damage nodes, the parry window extension alone can trivialize certain boss patterns that demand frame-perfect timing.
| Skill Tree Branch | Core Focus | Key Node Example | Best Paired With |
|---|---|---|---|
| Combat Mastery | Weapon damage and combos | Charged attack unlock | Sword or spear loadouts |
| Fog Weaver | Knight summon efficiency | Shared combo finishers | Aggressive knight configurations |
| Survivor | Defense and recovery | Extended parry window | Any high-risk playstyle |
Tides of Annihilation Weapon List and Loadout Strategy
The weapon list in Tides of Annihilation currently showcases two primary weapon families, each with distinct advantages that shape your approach to combat. Swords offer faster attack speed and more forgiving combo windows, while spears deliver superior reach and heavier individual hits that stagger larger enemies more reliably.
According to the Xbox Wire developer deep-dive, Sir Lamorak serves as a spear-wielding Knight of the Round Table, which confirms that spear weapons are deeply integrated into the game's identity rather than being an afterthought. This matters for customization because your weapon choice should complement your knight configuration, and pairing a spear-wielding Gwendolyn with a sword-focused knight creates a nice range balance.
Sword Weapons: Speed and Combo Potential
Sword weapons excel at building hit counts and staggering smaller enemies through rapid successive strikes. The light attack chain flows into a launcher that sets up aerial combos, while the heavy attack delivers a lunging thrust that closes distance quickly. Swords feel responsive and allow for last-second adjustments when bosses change their attack patterns mid-combo.
Spear Weapons: Reach and Precision
Spear weapons reward positioning and timing over raw aggression, with sweeping horizontal arcs that control space and a forward thrust that outranges most boss attacks. The charged spear attack pierces through multiple enemies and can interrupt heavy attacks from Colossal Knights, making it a strong choice for players who prefer a more methodical, spacing-based approach.
| Weapon Type | Attack Speed | Reach | Stagger Potential | Best Playstyle |
|---|---|---|---|---|
| Sword | Fast | Short | Moderate | Aggressive combos |
| Spear | Slow | Long | High | Spacing and punishes |
Tides of Annihilation Knight Customization and Configuration
Knight customization represents the most strategic layer of the entire system, because your choices here determine which spectral allies fight alongside Gwendolyn and how they behave in combat. The game allows you to configure two sets of knights, with each set containing two knights, and you can swap between sets freely during battle to adapt to changing circumstances.
The knight configuration screen lets you assign each knight a combat role that governs their behavior when summoned. Aggressive knights close distance and attack relentlessly, defensive knights position themselves between Gwendolyn and threats while drawing aggro, and support knights provide buffs or healing over time. Understanding these roles is essential because a knight that fits your playstyle becomes a force multiplier, while a mismatched knight can feel like a liability.
Building Your First Knight Configuration
For players new to the system, a balanced configuration of one aggressive knight and one defensive knight provides the most forgiving introduction. The aggressive knight maintains pressure while you learn boss patterns, and the defensive knight acts as a safety net that can absorb hits that would otherwise connect with Gwendolyn. As you grow more comfortable, you can experiment with double-aggressive setups for faster kills or double-support configurations for sustained fights.
Advanced Knight Configuration Strategies
Advanced players should consider how their knight configuration interacts with their skill tree investment. The Fog Weaver branch nodes that extend knight active time become significantly more valuable with aggressive knights, since they spend more time dealing damage. Conversely, defensive knights benefit more from nodes that reduce summon cooldowns, allowing you to reposition them more frequently as boss patterns shift.
| Knight Role | Combat Behavior | Best Skill Tree Synergy | Ideal Encounter Type |
|---|---|---|---|
| Aggressive | Constant pressure | Fog Weaver duration nodes | DPS checks, adds-heavy fights |
| Defensive | Aggro management | Survivor defensive nodes | Bosses with wide AoE attacks |
| Support | Buffs and healing | Fog Weaver cooldown nodes | Extended endurance fights |
Cosmetic Customization and Visual Identity
Beyond the combat-focused systems, Tides of Annihilation character customization includes a robust cosmetic layer that lets you define Gwendolyn's visual identity without compromising performance. The clothing options range from practical leather armor to ornate ceremonial robes, while hair color and makeup allow for dramatic personalization that makes your Gwendolyn feel uniquely yours.
The cosmetic layer is entirely separate from stats, which means you never have to choose between looking good and fighting well. This design philosophy encourages experimentation, since you can freely adjust Gwendolyn's appearance whenever you visit a rest point without worrying about weakening your build. Players who enjoy the character lore and appearance details will find plenty of room to express their interpretation of the protagonist.
Unlocking Cosmetic Options
Cosmetic items are discovered through exploration, side quests, and boss rewards, with some of the most striking options locked behind optional encounters. The Grail Shard currency that appears throughout London can also be exchanged for exclusive cosmetic items at specific vendors, giving completionists a clear goal to work toward.
Mixing Cosmetics with Combat Identity
While cosmetics don't affect stats, they can reinforce your chosen combat identity. A player running a spear-focused build might prefer the flowing robes that evoke a traditional dragoon aesthetic, while a sword specialist might lean toward lighter, more practical armor that suggests speed and agility. This synergy between visual and mechanical identity is a subtle but satisfying layer of the customization experience.
Optimizing Your Customization for Boss Encounters
The true test of any customization setup comes during boss fights, where the Colossal Knights and the witch Tyronoe demand specific responses to their attack patterns. The Xbox Wire preview describes Tyronoe transforming into a massive bird beast, spawning clones, and creating a Mirror Space Folded Realm that Gwendolyn cannot pass through, which means your knight configuration needs to handle both the main threat and the summoned distractions.
For the Tyronoe encounter specifically, a configuration with one aggressive knight to pressure the boss and one defensive knight to handle the clone spawns proves effective. The aggressive knight keeps Tyronoe occupied while you deal with the clones, and the defensive knight can intercept attacks from the bird-beast form that would otherwise catch you mid-combo.
Pre-Fight Customization Checklist
Before every major encounter, run through this checklist to ensure your customization is optimized for the challenge ahead:
-
Review the boss's elemental weakness and equip a weapon that exploits it
-
Adjust your knight configuration based on whether the boss summons adds or focuses purely on Gwendolyn
-
Check your skill tree for any nodes that specifically counter the boss's most dangerous attacks
-
Verify your cosmetic loadout is set to something you enjoy, since you'll be seeing it during every death and retry
Adapting Mid-Fight with Knight Swaps
The ability to swap between two knight configurations mid-fight is your most powerful tool for adapting to boss phase transitions. Many bosses, including Tyronoe, shift their behavior dramatically between phases, and having a second configuration ready lets you respond instantly rather than struggling with a setup that no longer fits the situation.
Players who want to see how different knight pairings perform against specific threats should consult the knight synergy analysis for data-driven recommendations. The defensive knight tier list also provides valuable context for players who prefer a more cautious approach to boss encounters.
Frequently Asked Questions
What is the best starting customization setup in Tides of Annihilation?
For beginners, equip a sword for faster attack speed, invest your first skill points in the Combat Mastery branch for extended combos, and configure one aggressive knight alongside one defensive knight. This balanced setup teaches you the fundamentals while providing enough safety to learn boss patterns without constant frustration.
Can I respec my skill tree in Tides of Annihilation?
Yes, the game provides a respec option that refunds all invested skill points, allowing you to rebuild Gwendolyn's abilities from scratch. The respec option becomes available after reaching a specific story milestone, and while it costs a modest amount of in-game currency, the ability to experiment freely is well worth the investment.
How many knights can I configure at once?
You can configure two sets of knights, with each set containing two knights for a total of four active knights. You can switch between the two sets freely during battle, which allows you to prepare different responses for different phases of an encounter or adapt to unexpected situations.
Does cosmetic customization affect combat performance?
No, cosmetic options like clothing, hair color, and makeup are purely visual and have zero impact on combat stats. This design choice means you can freely express your personal style without worrying about weakening your build, and you can change your appearance at any rest point.
What weapon type is best for the Tyronoe boss fight?
The spear weapon type excels against Tyronoe because its extended reach lets you punish attacks from the bird-beast form without stepping into dangerous range. Pair this with a defensive knight to handle the clone spawns, and you'll have a configuration that addresses both the main threat and the distractions she creates.